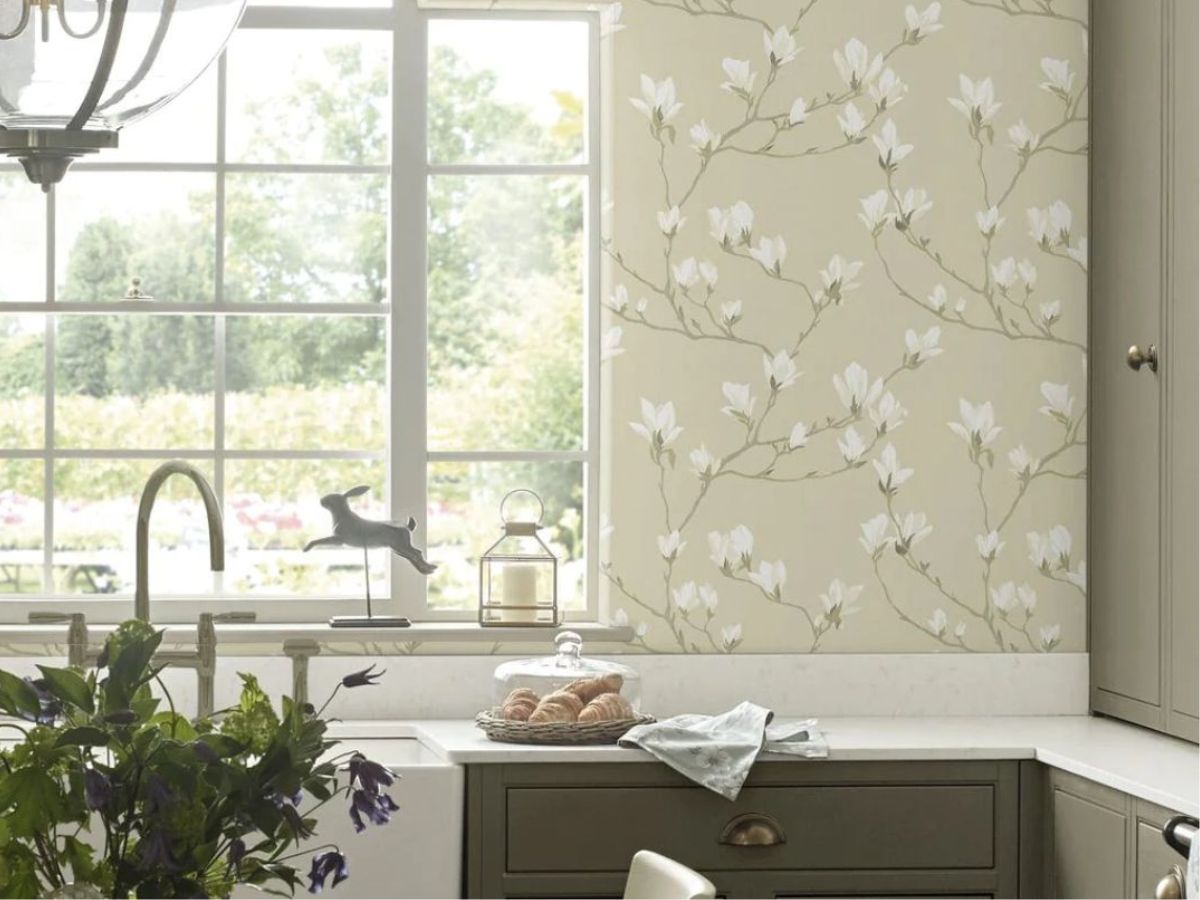
Wallpapering can be an exciting and rewarding DIY project that transforms the look and feel of your space. Whether you're looking to refresh a room or add a touch of personality to your home, wallpapering is a fantastic way to achieve your desired aesthetic. Follow this step-by-step guide on how to wallpaper like a pro, and soon you'll be enjoying the stunning results of your efforts.
1. Gather the Necessary Supplies: Before you begin, ensure you have all the essential tools and materials ready. You'll need wallpaper of your choice, wallpaper adhesive or paste, a wallpaper brush or roller, a smoothing brush, a utility knife, a tape measure, a level, a pencil, and a sponge for cleaning any excess adhesive.
2. Prepare the Surface: A smooth and clean surface is crucial for a successful wallpaper application. Remove any existing wallpaper, fill in holes and imperfections, and sand the wall if needed. Clean the wall thoroughly to remove any dust or debris that could hinder adhesion.
3. Measure and Cut the Wallpaper: Measure the height of your wall and add a few inches to the top and bottom to allow for adjustments during installation. Roll out the wallpaper on a clean, flat surface, and use a level and pencil to mark the dimensions accurately. Cut the wallpaper strips using a sharp utility knife and a straight edge.
4. Apply the Wallpaper Adhesive: Depending on the type of wallpaper you have, either apply adhesive directly to the back of the wallpaper or follow the manufacturer's instructions for pre-pasted wallpaper. For non-pasted wallpaper, use a roller to apply an even layer of wallpaper adhesive.
5. Hang the First Strip: Start from a corner or the center of the wall, depending on your preference and the wallpaper's design. Align the top of the wallpaper strip with the ceiling or the previously installed wallpaper if you are working in a pattern repeat. Use your hands to gently smooth the wallpaper against the wall, ensuring there are no air bubbles or creases.
6. Smooth and Trim the Wallpaper: Use a wallpaper brush or smoothing brush to remove any air bubbles and creases from the wallpaper. Work from the center of the strip towards the edges. Trim excess wallpaper at the top and bottom using a utility knife and a straight edge.
7. Continue Hanging the Strips: Align the subsequent strips carefully with the previous ones, ensuring the pattern matches perfectly. Use a slight overlap at the edges for a seamless look. Repeat the process for each strip, and remember to wipe off any excess adhesive with a damp sponge as you go.
8. Handle Corners and Obstacles: For corners, create a straight, vertical line using a level and pencil as a guide. Apply the wallpaper to one side of the corner, ensuring it slightly wraps around the corner. Then, apply the wallpaper to the adjacent wall, overlapping the first strip slightly in the corner. Smooth out the edges for a clean finish.
9. Trim Around Outlets and Switches: For electrical outlets and switches, cut an "X" in the wallpaper over the opening, fold the flaps back, and smooth the wallpaper in place. Carefully trim around the opening with a utility knife.
10. Finishing Touches: Once all the wallpaper is applied, go over the entire surface with a smoothing brush to ensure a secure bond. Wipe away any remaining adhesive residue with a damp sponge. Allow the wallpaper to dry according to the manufacturer's recommendations.
Conclusion: Wallpapering may require some patience and precision, but the end result is worth the effort. With this step-by-step guide, you're equipped to tackle your wallpapering project like a pro. Remember, practice makes perfect, so don't be discouraged if your first attempt isn't flawless. Soon enough, you'll have a beautifully wallpapered space that showcases your style and creativity. Happy decorating!